BrainBows
Table of Contents
- Overview
- Usage Guide
- Community Feedback
- Developer Guide
- Development History
- Potential Issues
- Links
- Contact Us
Overview
As Computer Science students, a typical school day is composed of staring at a computer screen which can feel very isolating. The BrainBows app is meant to be an app to encourage studying in groups as opposed to studying alone. While there is nothing wrong with solo study, studying with a partner or in a group can improve material retention and overall boost the mood of a study session. As more students begin to use BrainBows, it will facilitate a sense of community in the UH Manoa computer science department.
Visit our organization page on GitHub!
Goals
- To encourage camaraderie and bolster social interaction
- Combat burnout by forming communities
- Through relating with students in similar situations, we aim to make students feel a little LESS lonely
- Ultimately, an improvement in grades and QoL for students
Usage guide
Documentation and a brief guide app usage.
Deployment
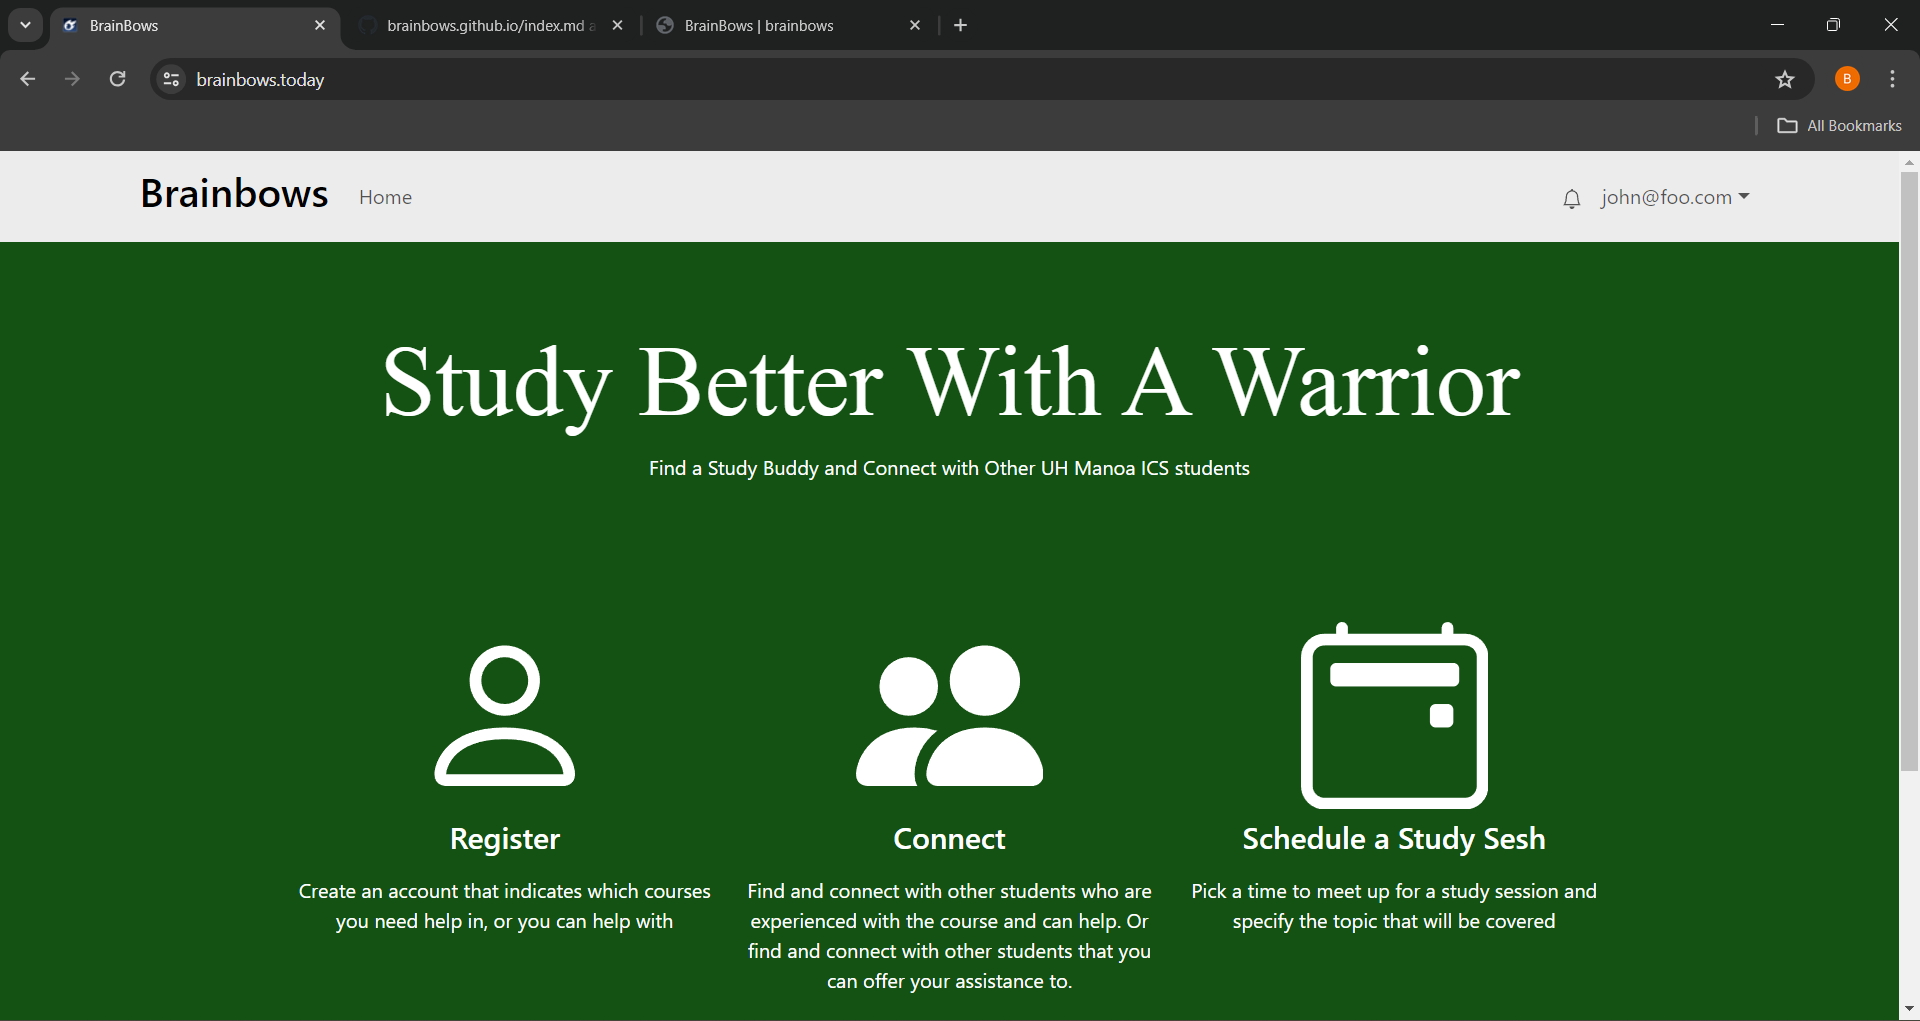
Landing Page
Upon first clicking on the URL, the users are led to the landing page which explains usages of BrainBows
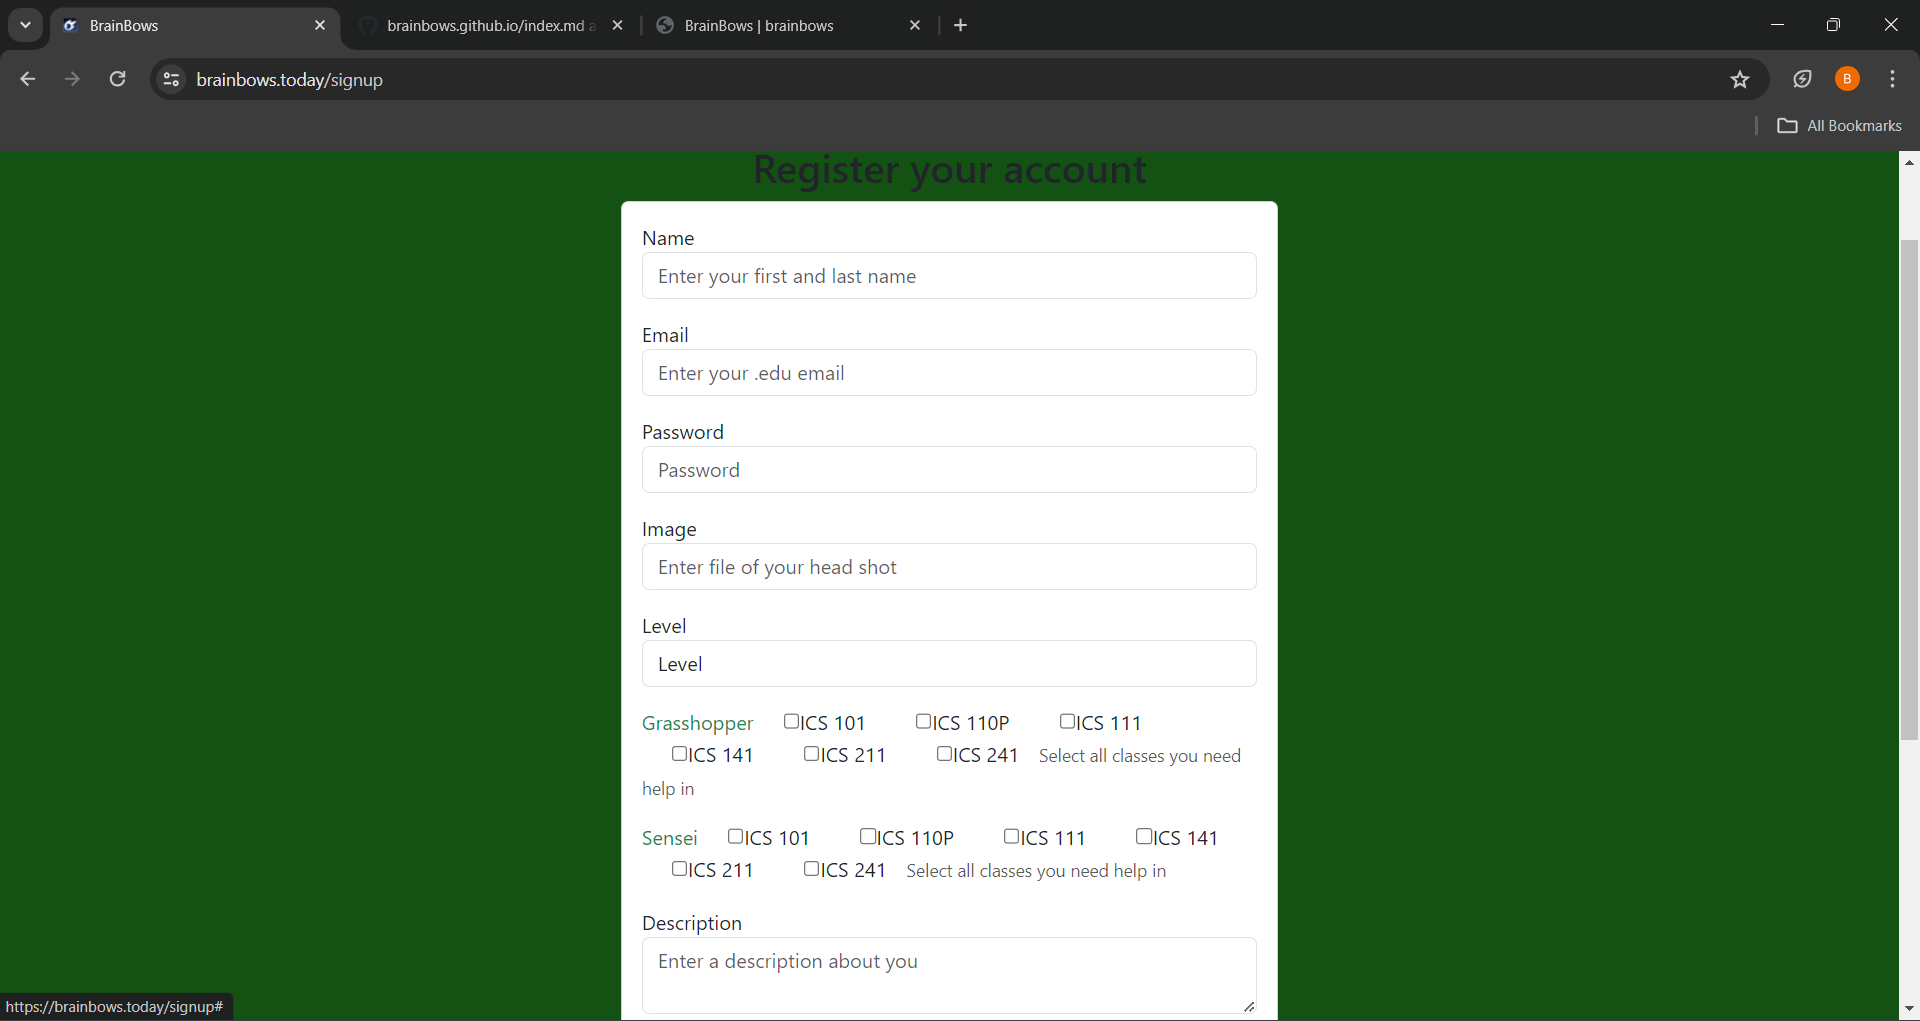
Sign Up Page
By clicking on the “Login” button in the upper right corner of the navbar, the user is given two options. Selecting ‘sign up’ will lead the user to the register page. Users can sign up on the register page. The user will be prompted to fill out their name, email, and password. Because this is currently only available for UH students and faculty, we have a UH Email requirement. Also required will be the user’s current grade level, the classes that they are currently taking (“grasshopper), and the classes they have taken and consider themselves “senseis” in.
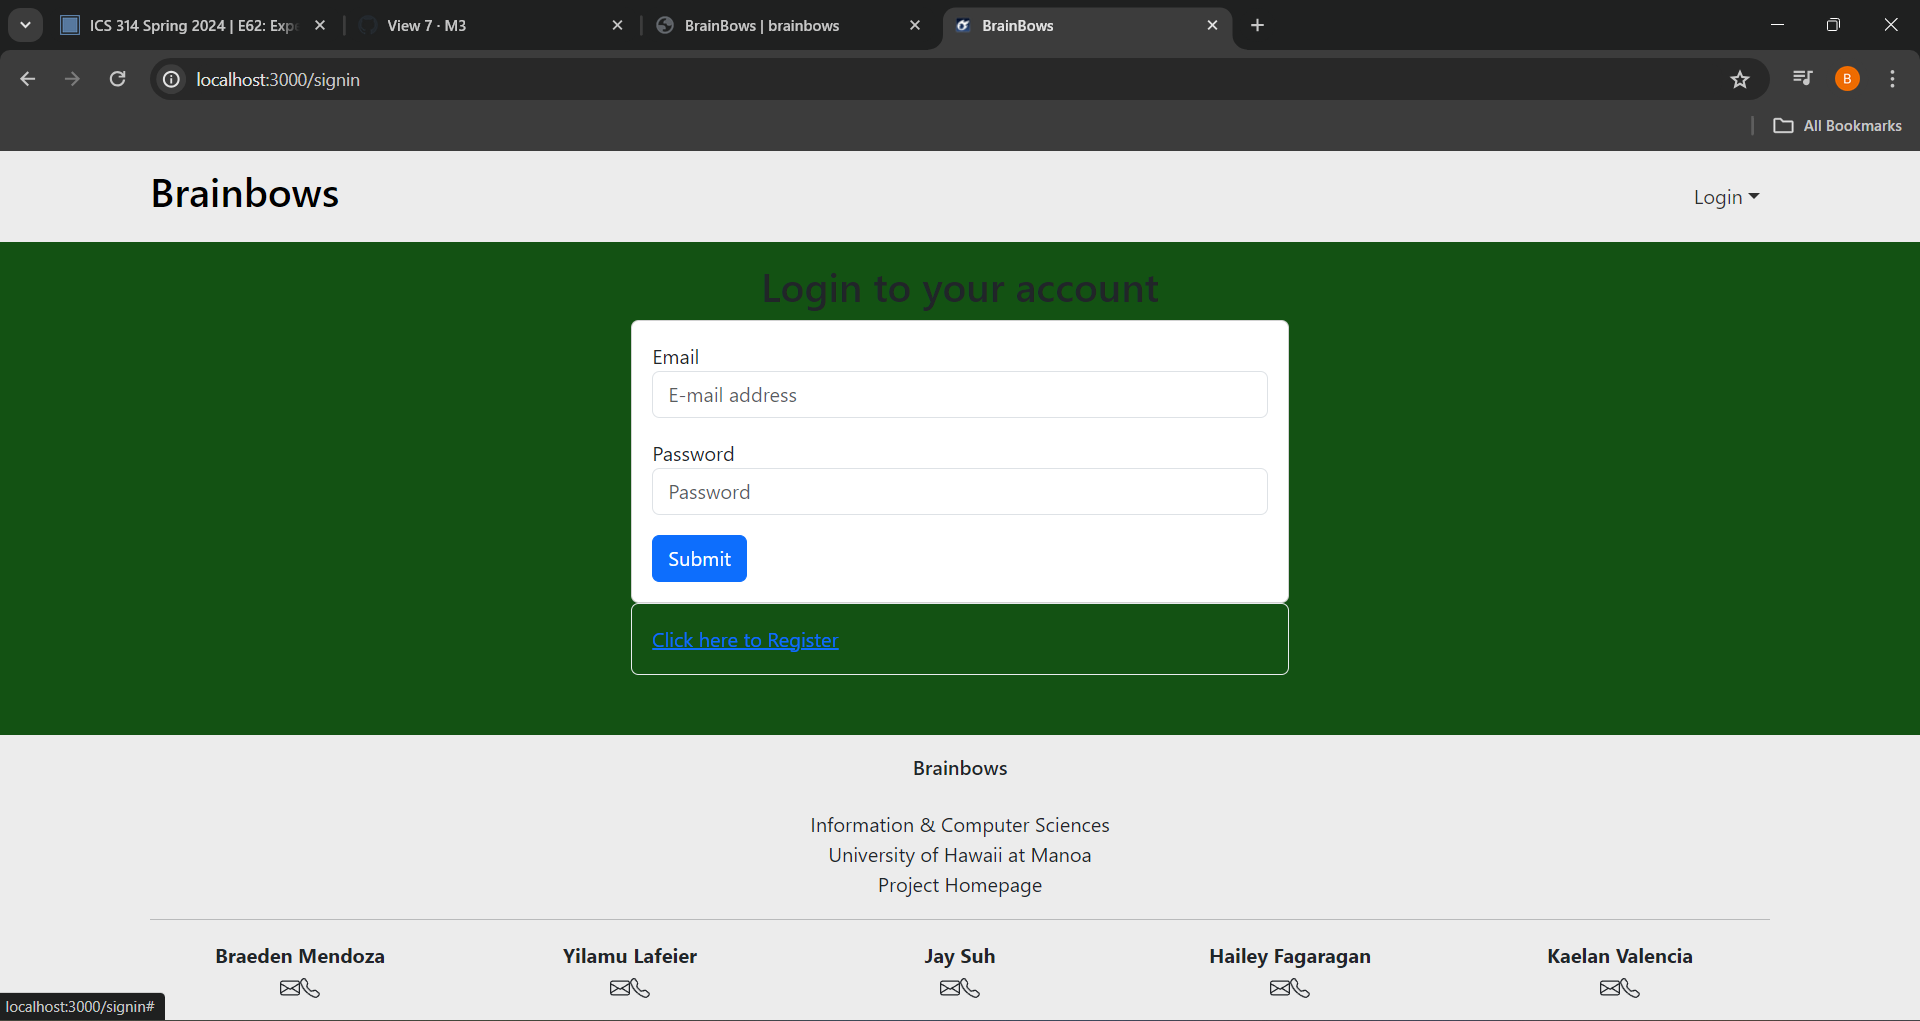
Sign In Page
Alternatively, if the user has already created an account with BrainBows, selecting ‘sign in’ will lead them to the sign in page where they will be prompted to enter their email and password.
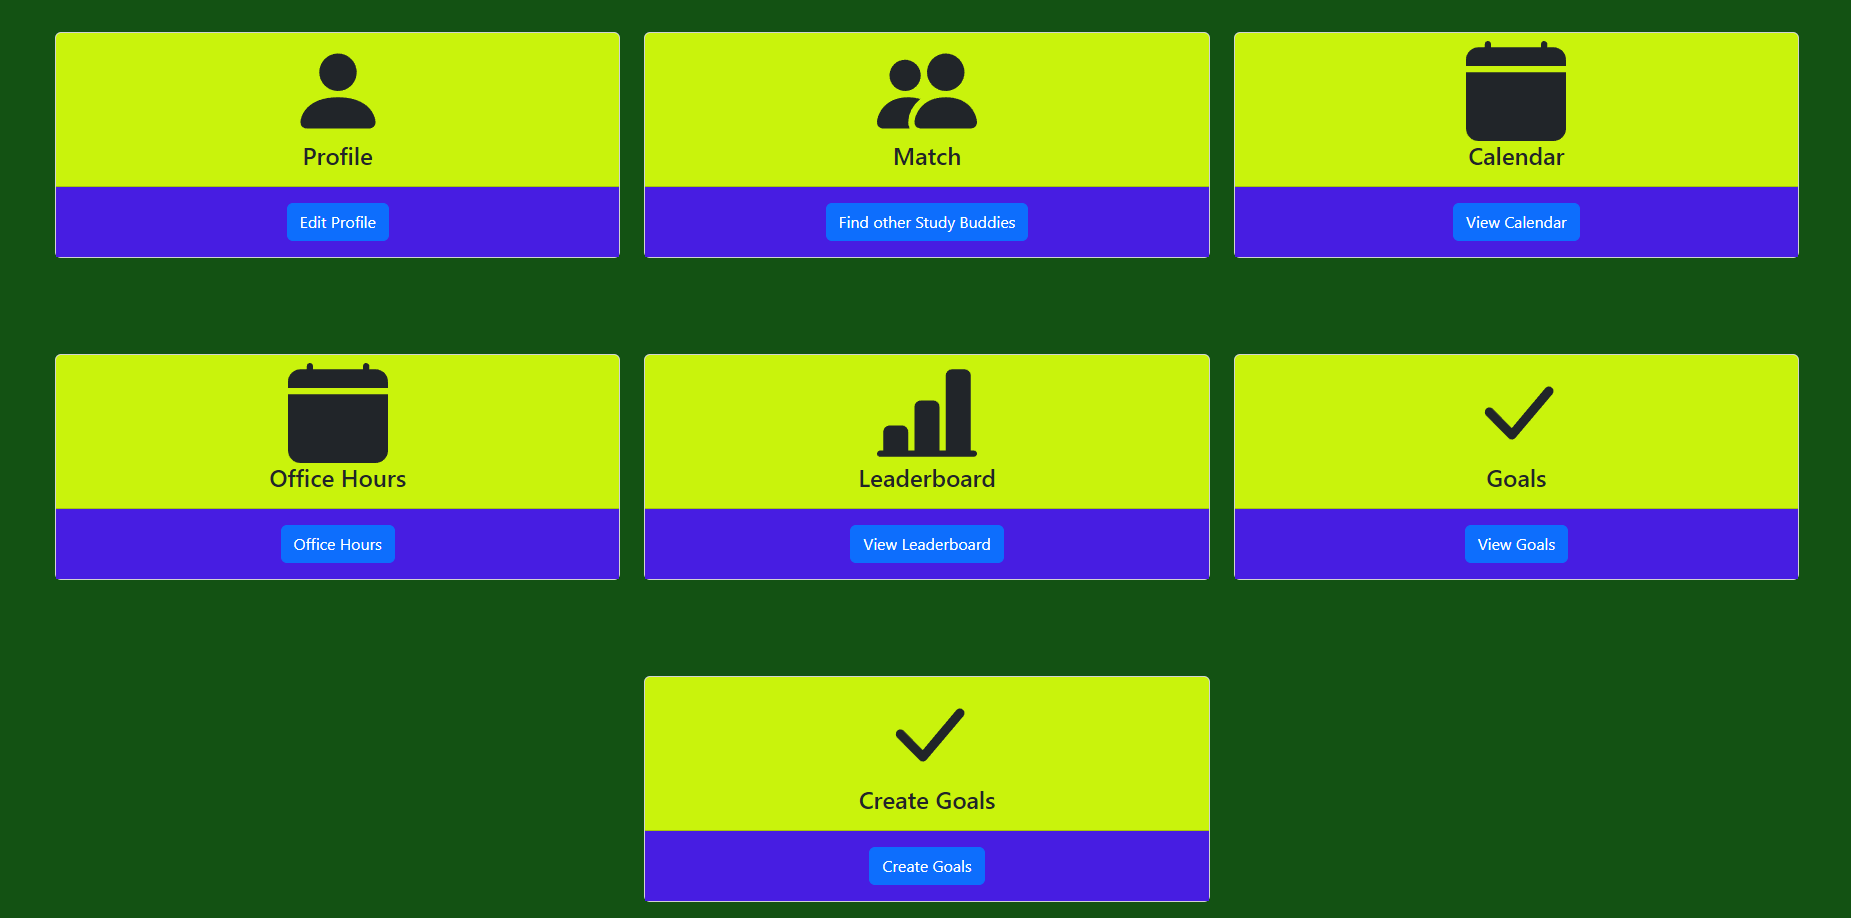
User Home Page
Upon signing in, the users are led to their homepage which allows them to change their profile, match with other students, see the calendar, check professors office hours, check the leaderboard, as well as create and view their goals.
Calendar
On the user home page, students can choose to view their calendar. The user is taken to the calendars and events page where it lists all of the events that are coming up, from there the user can simply click on the event to sign up and join the study sessions.

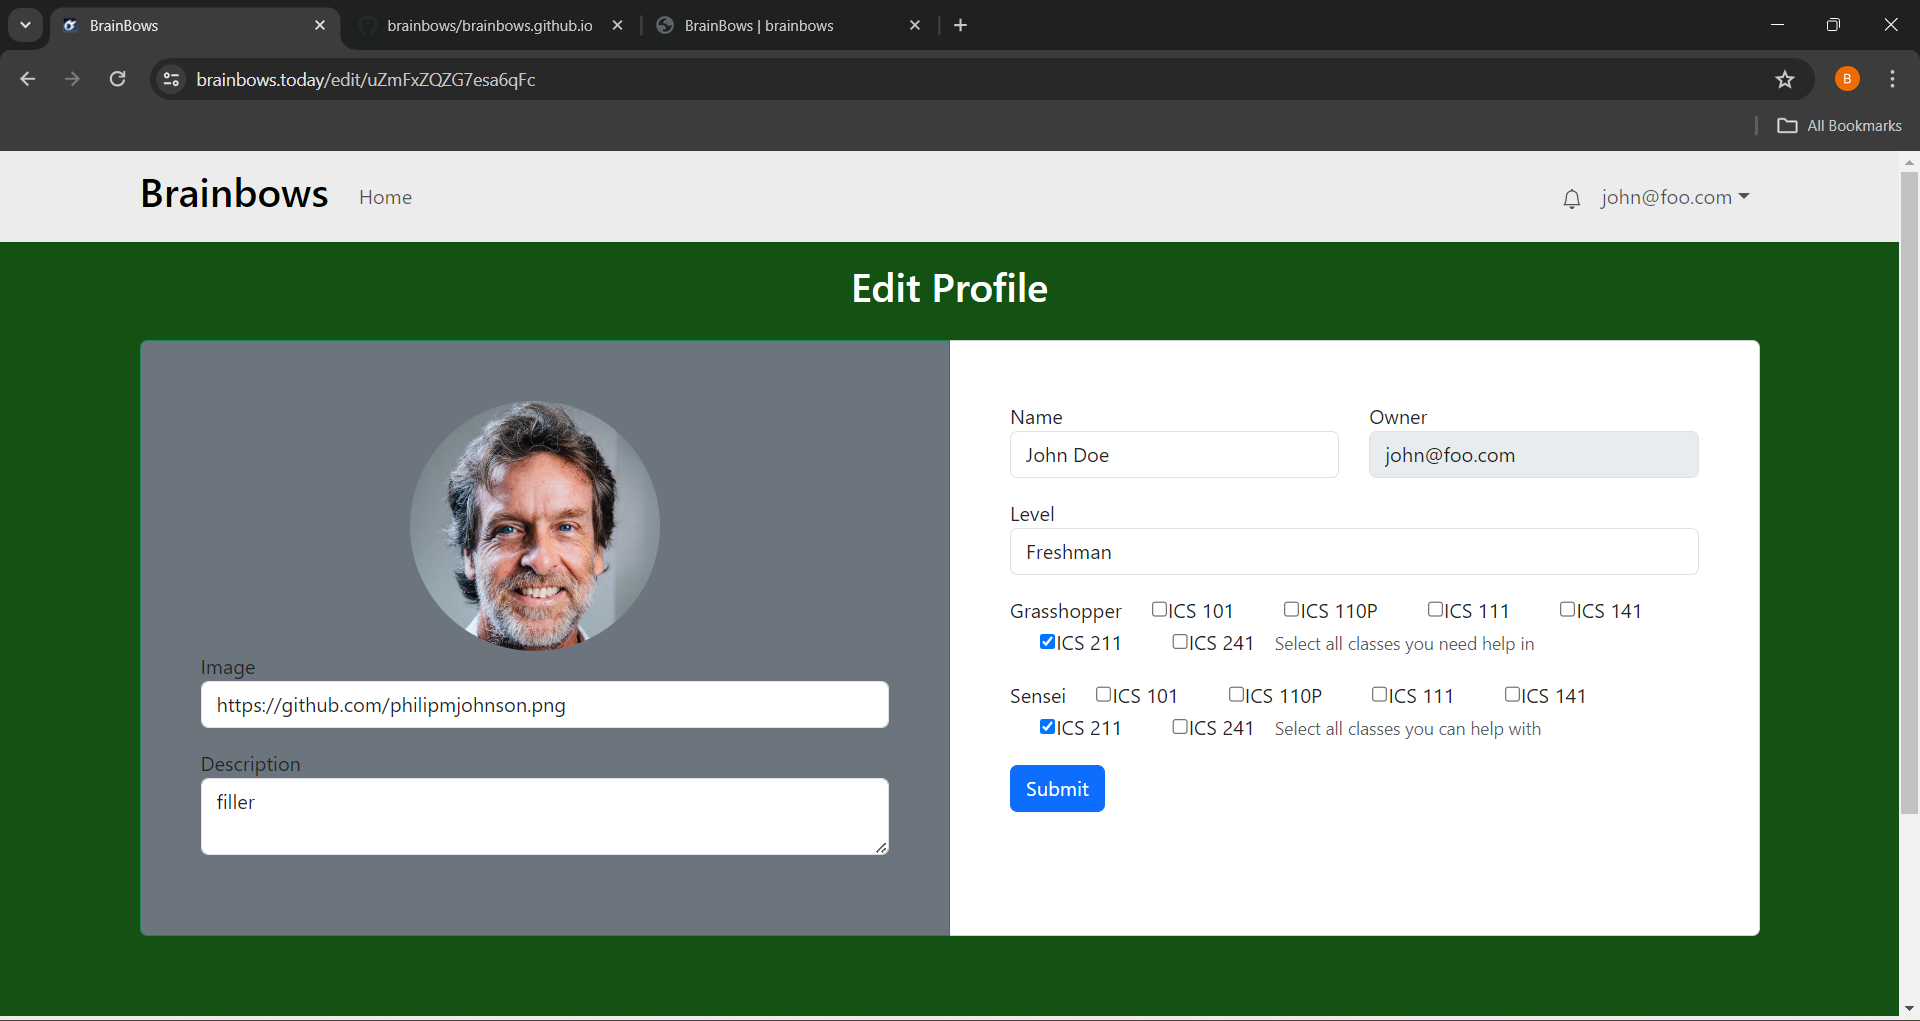
Edit Profile Page
On the user home page, users are able to click on the edit profile button. This will lead them to a page where users are able to view their profile and make any necessary updates.
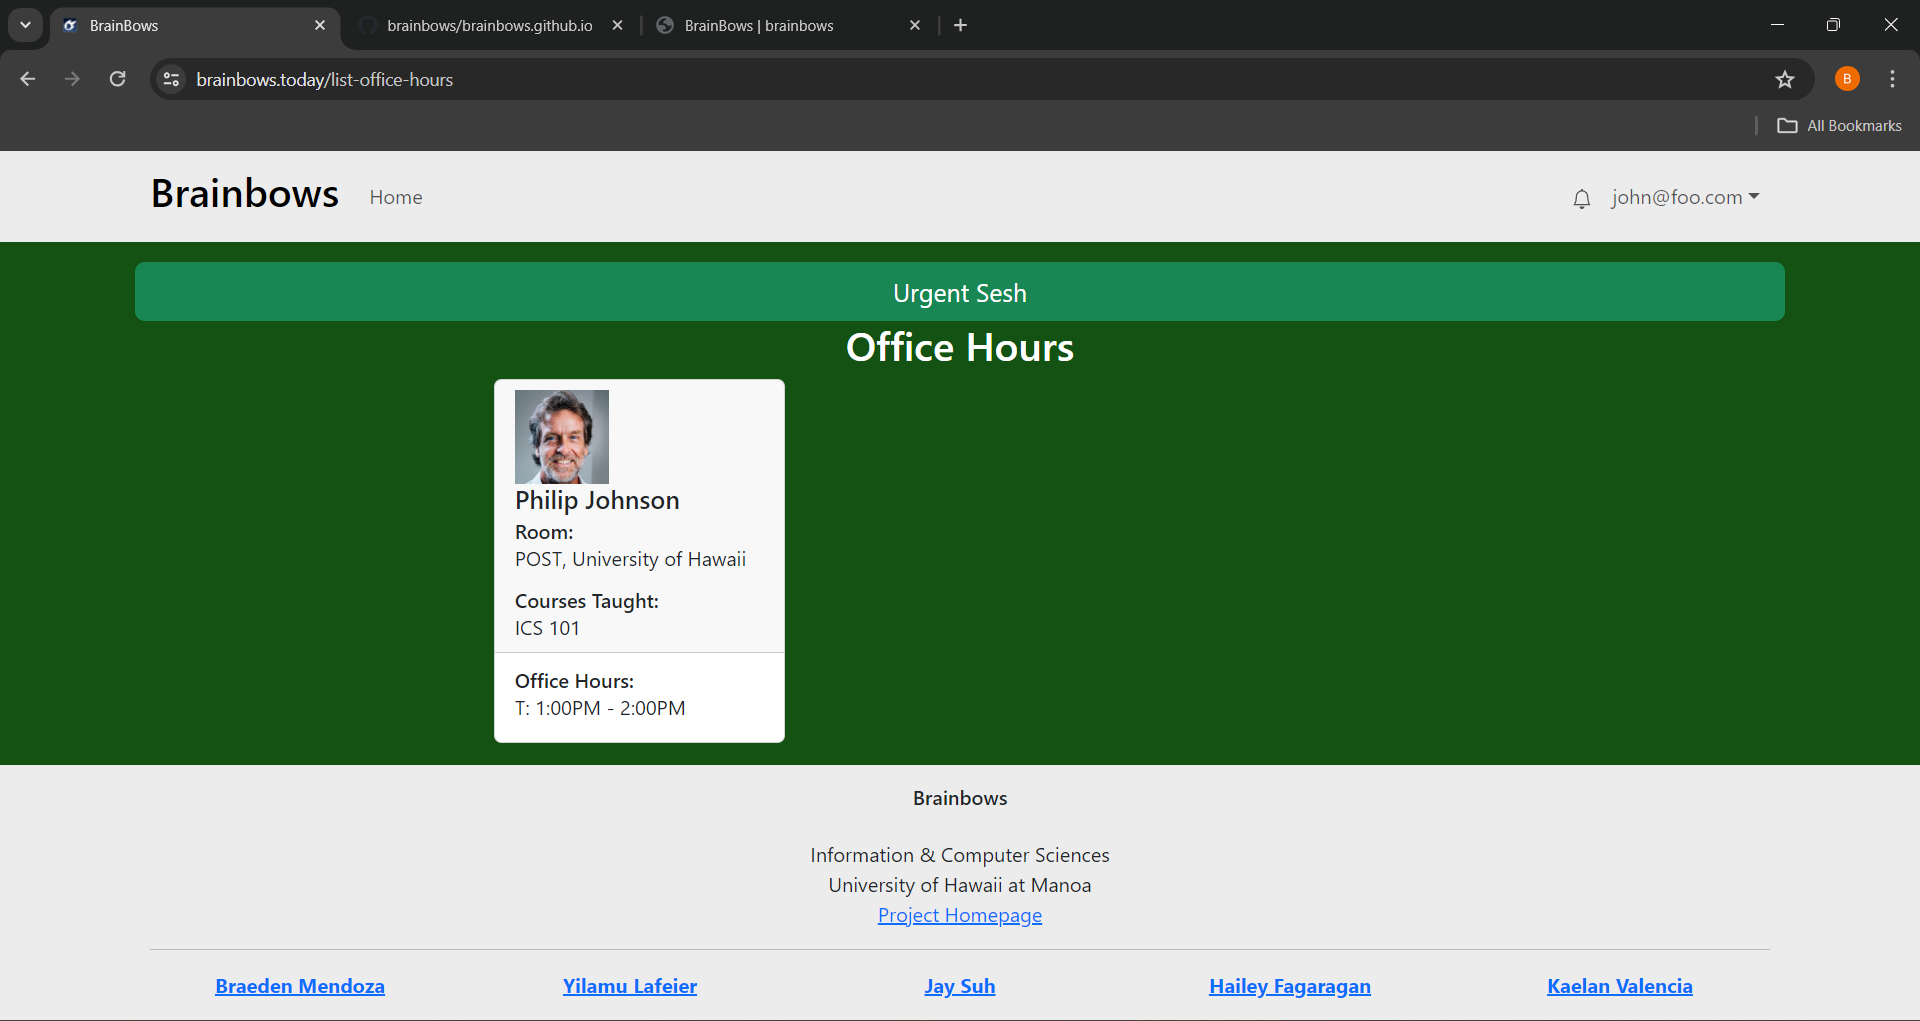
Professor/TA Office Hours
Users will be able to view office hours times of as well as which courses each professor/TA teaches to allow them to schedule an appointment with the right professor/TA.
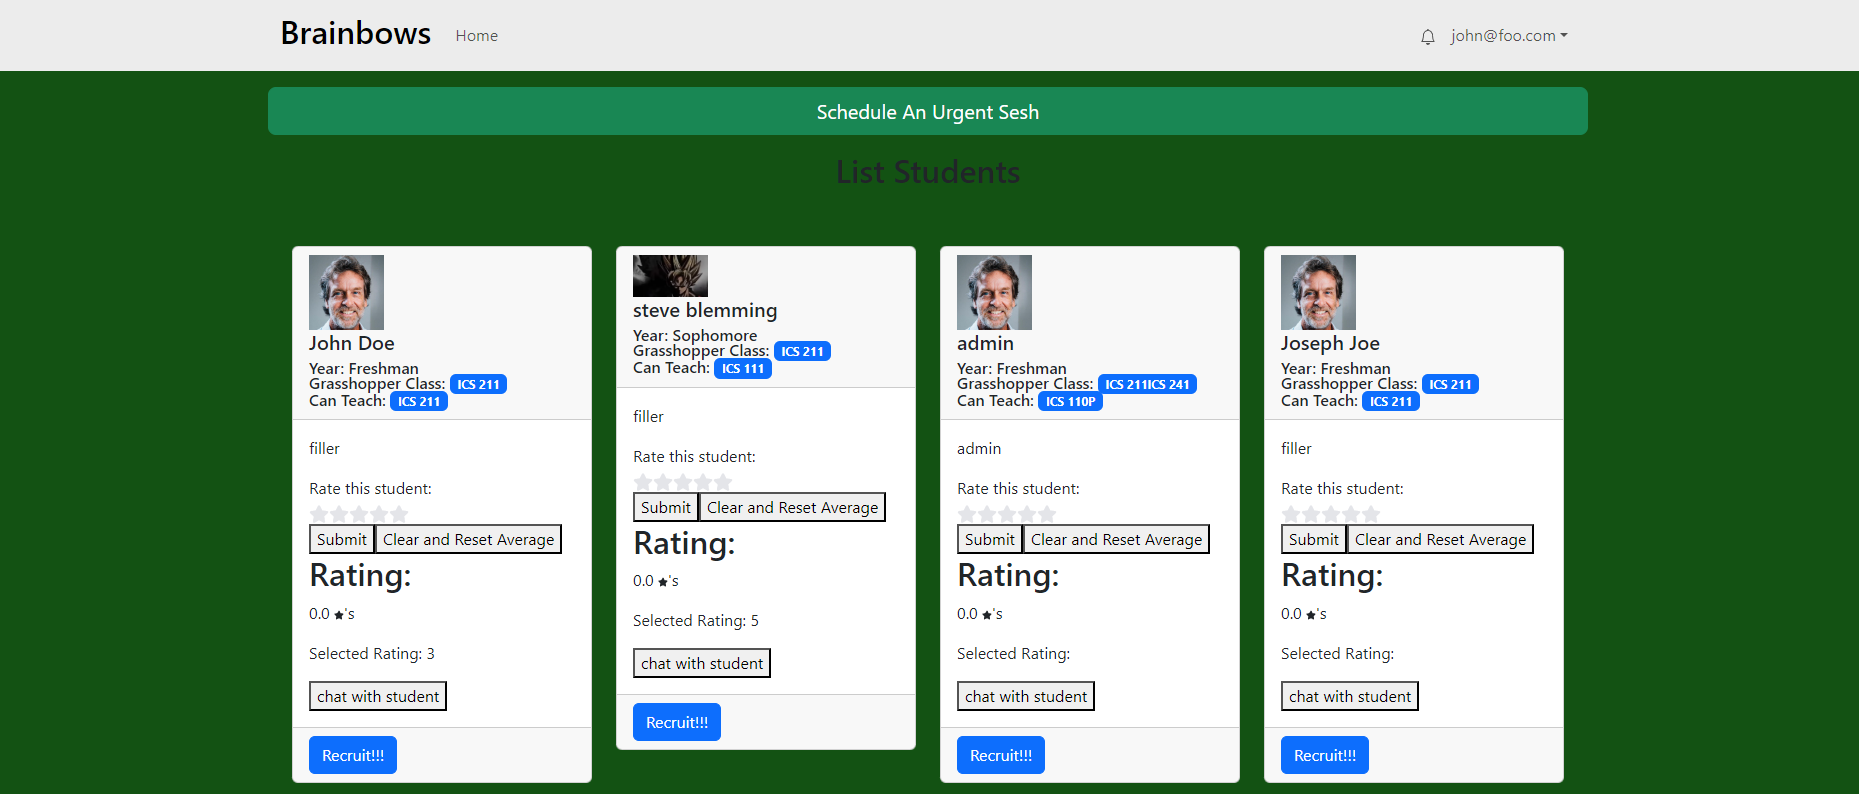
Students Page
Users will be able to see all of their peers, can rate them based on how well they performed as a study peer, and chat with them if needed.
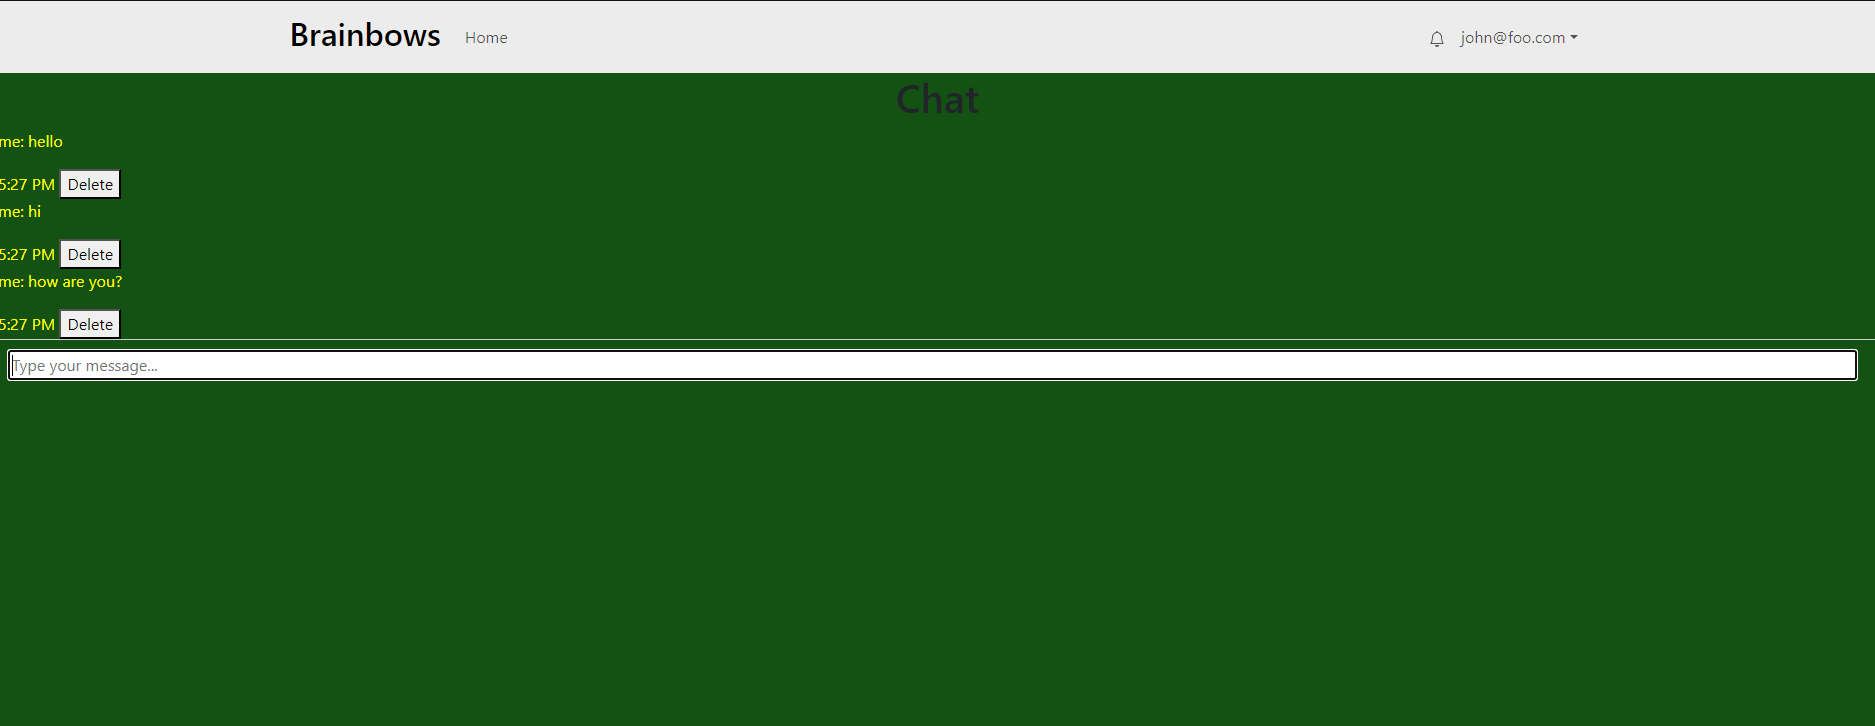
This shows the chatting part of the list, each chat will be entirely unique and no one else can open up the messages.
Goals
We want the user to always remember their motivations and have it as a constant reminder to what they’re trying to attain. So we implemented a Goals system; to not only keep it as a constant reminder, but also for students to create new ones while making progress on their academic journey.
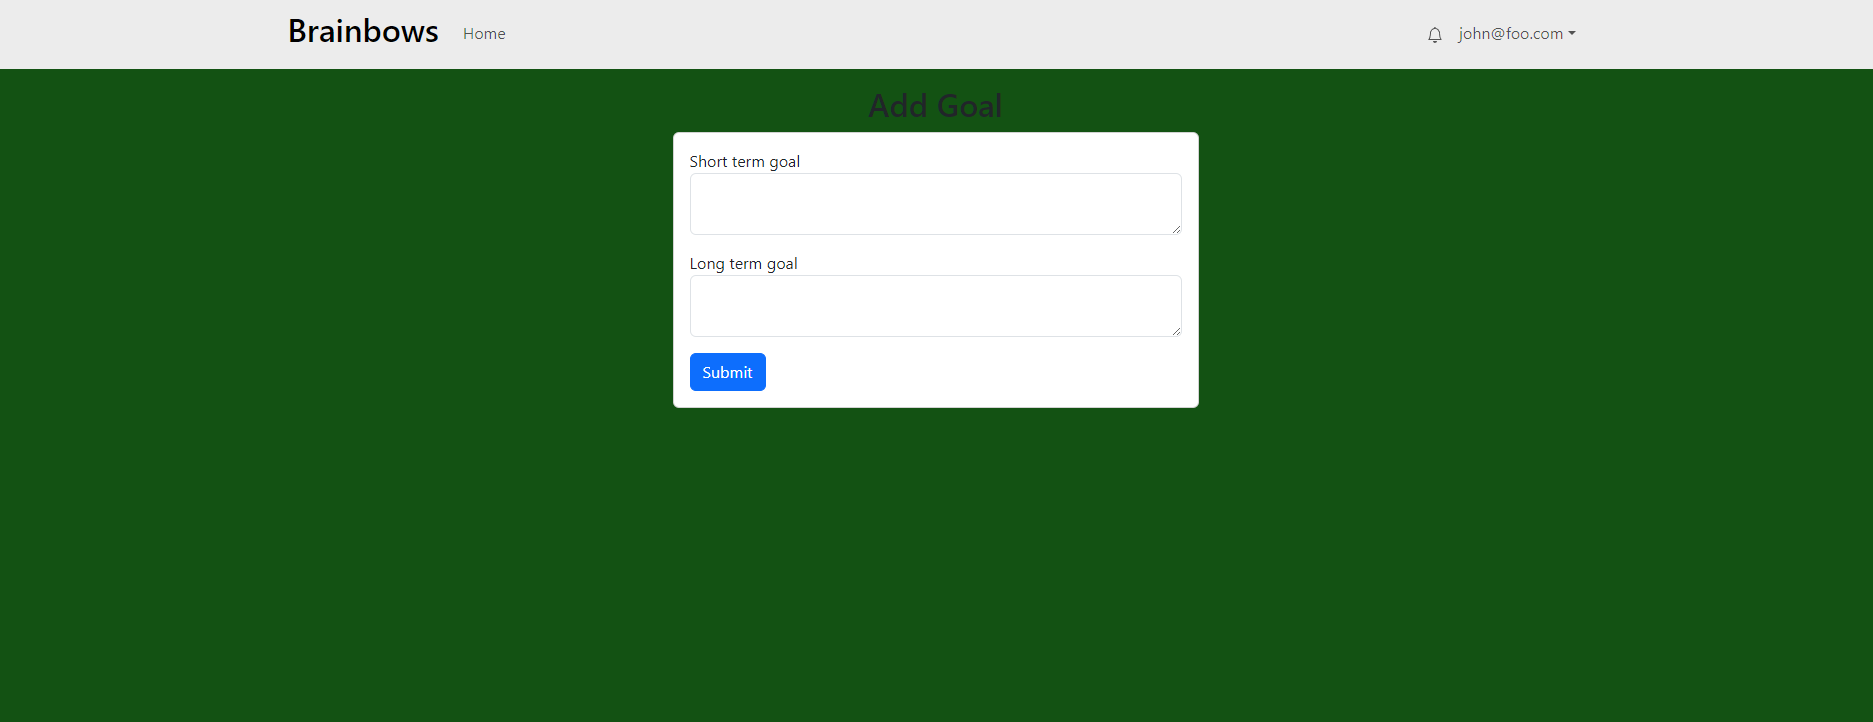
Add Goals
Students can add to their goals, both short term and long term.

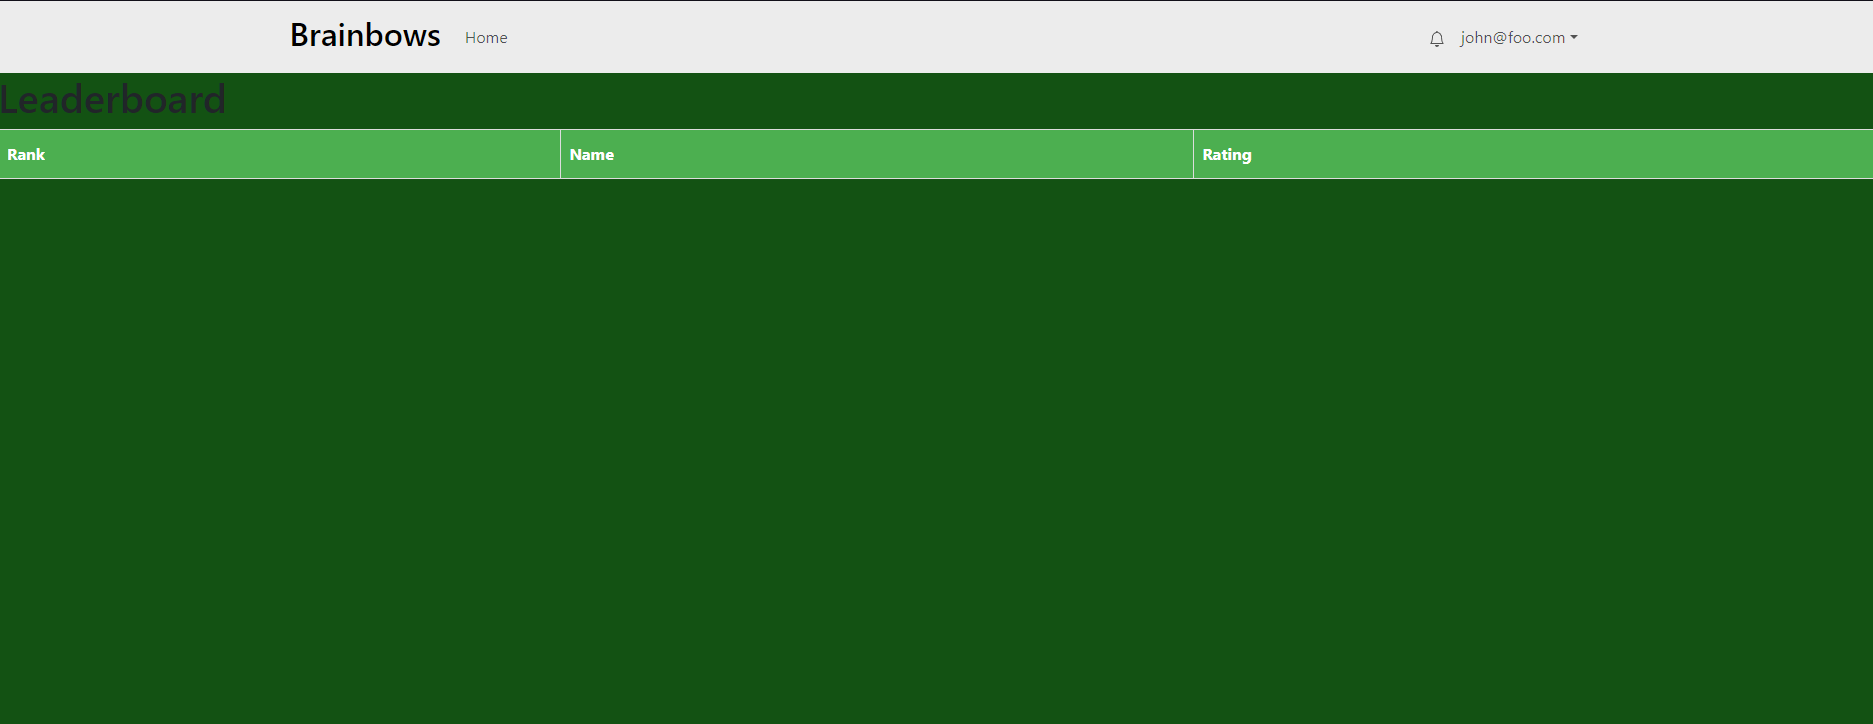
Leaderboard
We like to encourage students to try their best to be good peers to each other, so we incorporated a points sytem based on how good of a peer you were, and the top students would be shown, similar to a game mechanic to keep things interesting!
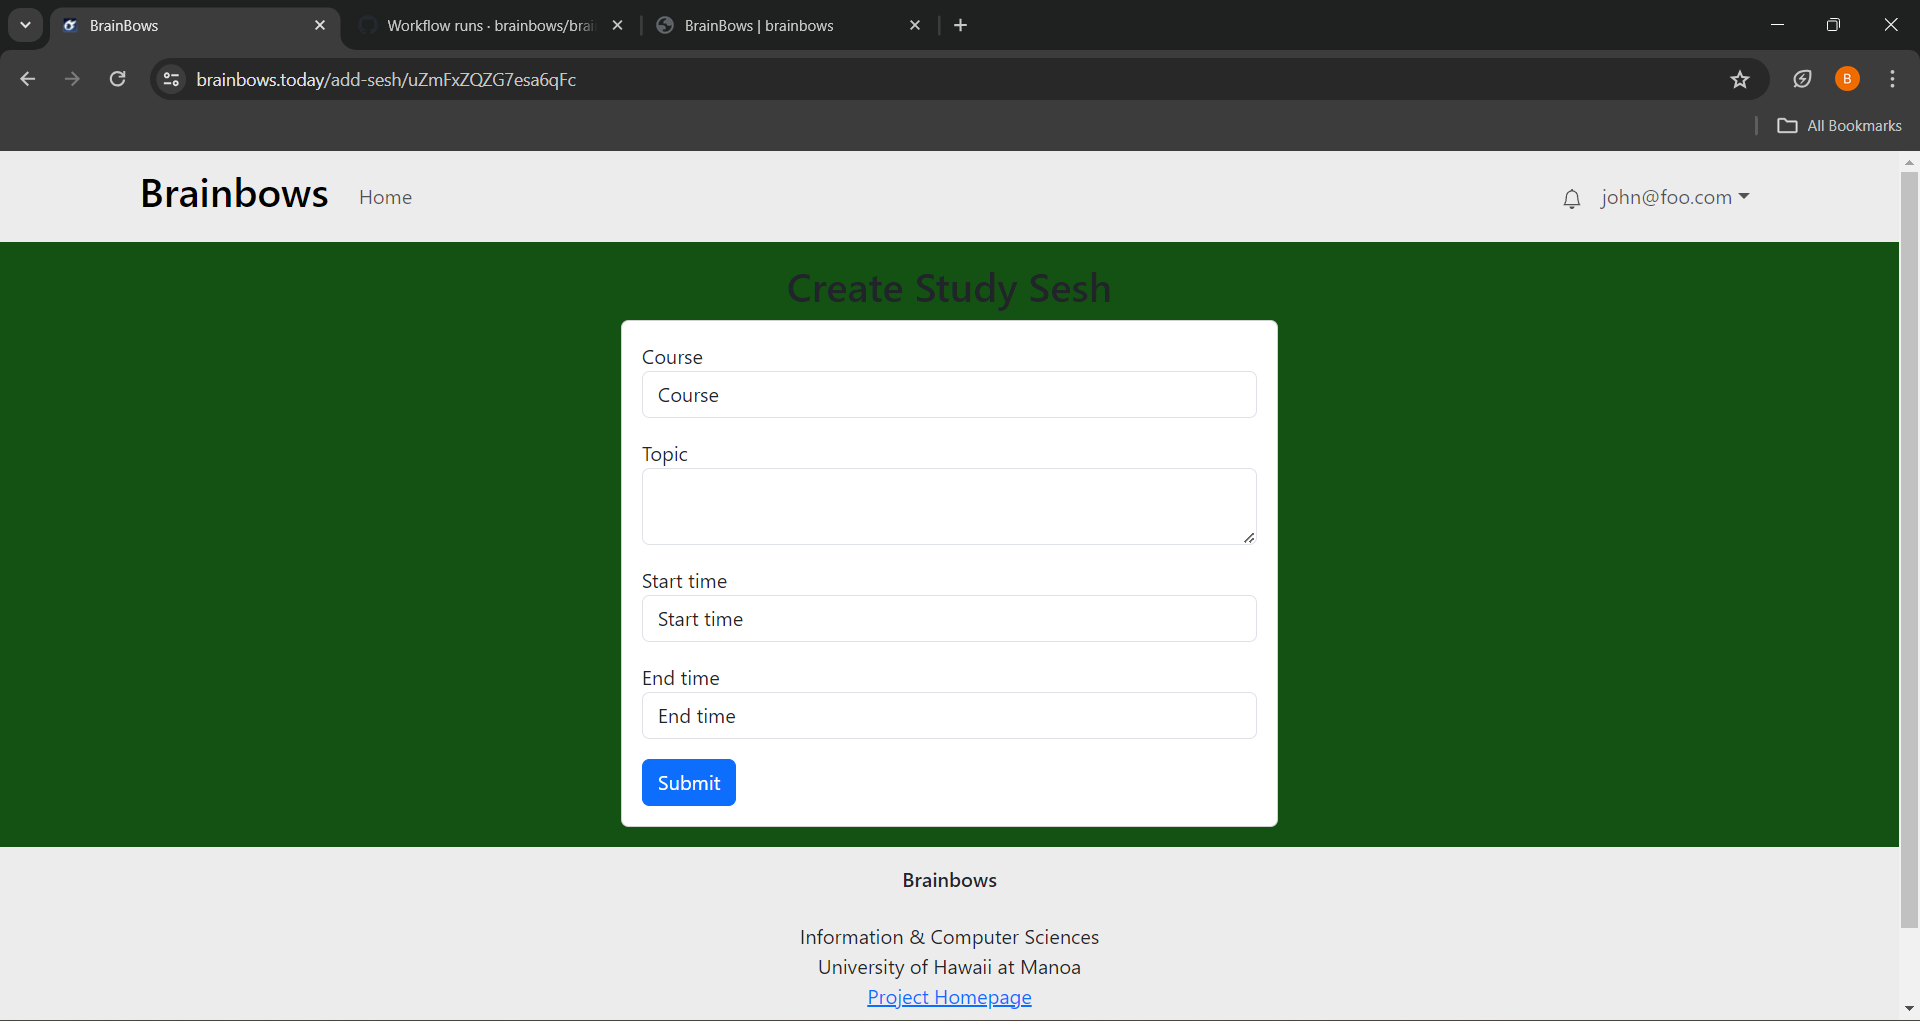
Create A Study Sesh
There are two types of study sessions: urgent and regular. In an urgent study session, students can choose what class they need help in, the topic, and the start and end time. The point of an urgent session is it will notify all senseis of the class you chose that you need help and are currently in the ICSpace. Hopefully, a sensei will show up soon. In a regular study session, the user will be able to choose the sensei they want, where they will decide on the class, topic, and start and end times.
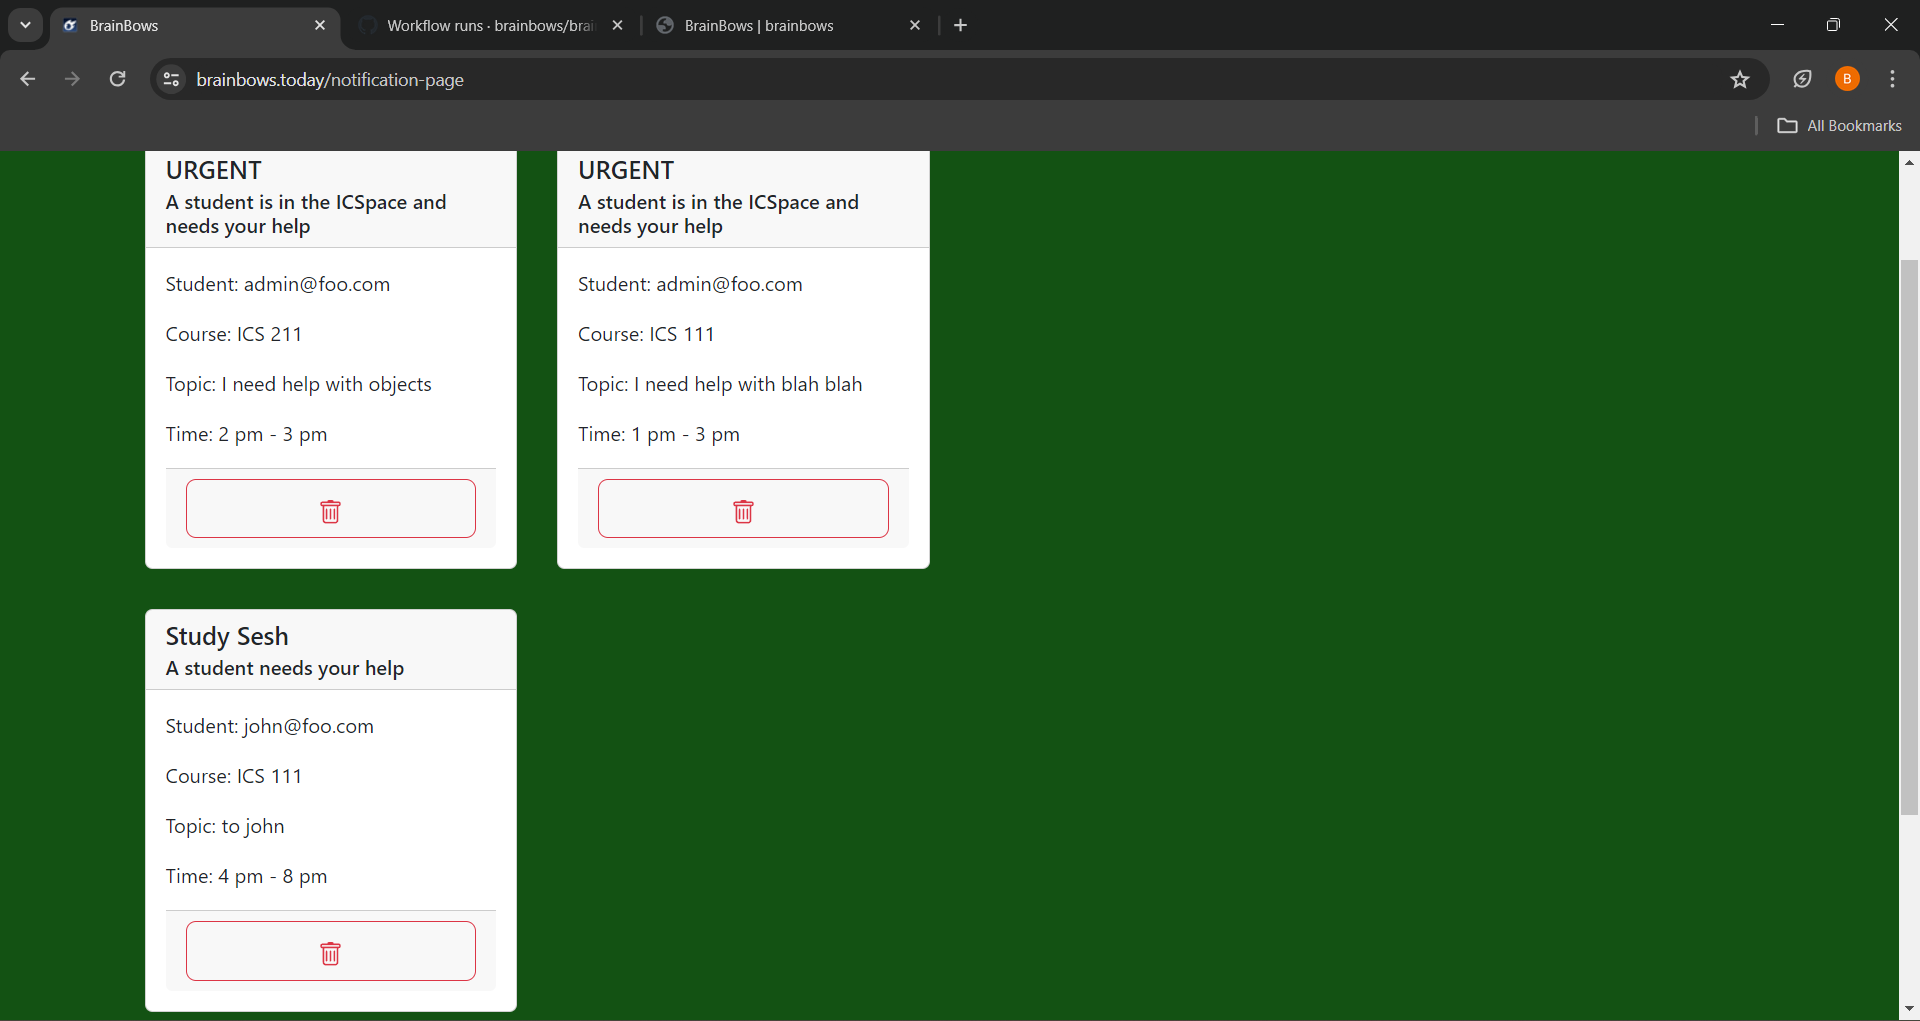
Notification
In the case of an urgent study session, all senseis of that class wil be notified. However, for regular study sessions, only the sensei that the student has chose will be notified of the study session.
Community Feedback
Here are some of the feedback that we received for our app, most of the people we asked all said that the website is very user friendly and simple to navigate. There were some criticisms about the use of the website on mobile devices and how the text doesn’t render properly or that the words were all jumbled together.
-
Viveka L. The app seems very straight forward and very user friendly, however when opening the app on a mobile device, or a device that isn’t a desktop, the texts get all jumbled and messed up. However, the login and signup could be a bit easier for users but overall its very user friendly.
-
Kikyo M. The design is very modern and simple, there could be a little more graphic design part of it, but overall very user friendly and locating things is very easy.
-
Jasmynne K. Everything is easy to locate, the directions are very straight forward. I really like the implementation of the rating system, the clear button seems a bit out of place since students shouldn’t be able to manipulate the average rating, since they could always just clear it for themselves and make them seem better than they are.
-
Ana R. Although I am not a part of the computer science classes, I like that the color scheme matches the UH colors, its a very simple and straightforward app, very user friendly, and for something like finding people to study with, I can see myself using this in future since it gets to the point of trying to find people to study with.
-
Eunho K. I like how everything is nicely organized to its palce, there’s not really any exploring I have to do to find anything, everything that I would need to look for. For the page with all of the students on it, it looks a little clunky and right up in your face, but overall it’s very easy to navigate and make use of.
-
Jamie M. It’s a little bland for a website, but since it’s very easy to navigate and easy to use. Why does everyone look the same? And the profile editing page could be a little simpler instead of having the user input a link to their profile picture, but this is all minor issues that could be fixed and I can’t wait to see how this app developes in the future. I wish I had something like this while I was still in college.
Developer Guide
Installation
First, install Meteor.
Second, visit the BrainBows application github page, and click the “Use this template” button to create your own repository initialized with a copy of this application. Alternatively, you can download the sources as a zip file or make a fork of the repo. However you do it, download a copy of the repo to your local computer.
Third, cd into the brainbows/app directory and install libraries with:
$ meteor npm install
Fourth, run the system with:
$ meteor npm run start
In order for the calendar page to function, the terminal may prompt you to run an npm install. The following command could also be ran:
$ meteor add fullcalendar:fullcalendar
If all goes well, the application will appear at http://localhost:3000.
Application Design
BrainBows is based upon meteor-application-template-react and meteor-example-form-react.
Initialization
The config directory is intended to hold settings files. The repository contains one file: config/settings.development.json.
This file contains default definitions for Students, Urgent, and UrgentNotifications and the relationships between them.
The settings.development.json file contains a field called “loadAssetsFile”. It is set to false, but if you change it to true, then the data in the file app/private/data.json will also be loaded. The code to do this illustrates how to initialize a system when the initial data exceeds the size limitations for the settings file.
Quality Assurance
ESLint
BrainBows includes a .eslintrc file to define the coding style adhered to in this application. You can invoke ESLint from the command line as follows:
meteor npm run lint
Here is sample output indicating that no ESLint errors were detected:
 PS C:\Users\braeb\OneDrive\Documents\GitHub\brainbows-source-real\app> meteor npm run lint

> meteor-application-template-react@ lint C:\Users\braeb\OneDrive\Documents\GitHub\brainbows-source-real\app
> eslint --quiet --ext .jsx --ext .js ./imports && eslint --quiet --ext .js ./tests

PS C:\Users\braeb\OneDrive\Documents\GitHub\brainbows-source-real\app>
End to End Testing
BrainBows uses TestCafe to provide automated end-to-end testing.
The BrainBows end-to-end test code employs the page object model design pattern. In the brainbows tests/ directory, the file tests.testcafe.js contains the TestCafe test definitions. The remaining files in the directory contain “page object models” for the various pages in the system (i.e. Home, Landing, etc.) as well as one component (navbar). This organization makes the test code shorter, easier to understand, and easier to debug.
To run the end-to-end tests in development mode, you must first start up a BowFolios instance by invoking meteor npm run start in one console window.
Then, in another console window, start up the end-to-end tests with:
meteor npm run testcafe
You can also run the testcafe tests in “continuous integration mode”. This mode is appropriate when you want to run the tests using a continuous integration service like Jenkins, Semaphore, CircleCI, etc. In this case, it is problematic to already have the server running in a separate console, and you cannot have the browser window appear and disappear.
To run the testcafe tests in continuous integration mode, first ensure that BrainBows is not running in any console.
Then, invoke meteor npm run testcafe-ci. You will not see any windows appear.
Continuous Integration
![]()
BrainBows uses GitHub Actions to automatically run ESLint and TestCafe each time a commit is made to the default branch. You can see the results of all recent “workflows” at https://github.com/brainbows/brainbows-source-real/actions.
Development History
Project Pages
Milestone 1: Mockup Development
For this milestone, HTML pages were created to illustrate rough mockups of what the layout of the system will look like. Milestone 1
Milestone 2: Implement backend
For this milestone, the main focus was to implement the backend of the pages created in the previous milestone. Milestone 2
Milestone 3:
For this milestone, The main focus was to add finishing touches and fix the back end from issues arised in M2. Implementation of a couple more features. Milestone 3
Potential Issues
- Students tend to shy away from assistance
Links
Deployment
Contact Us
BrainBows is designed, implemented, and maintained by Braeden Mendoza, Jay Suh, Yilamu Lafeier, Kaelan Valencia, Hailey Fagaragan